Category Archives: Brewing

BJCP style #2: Belgian blonde (18A)

For the second beer in our series, I decided to brew a Belgian blonde, mostly because it’s become one of my favorite styles of beer, but also because it’s pretty difficult to find more than a few good examples.

11 - 23- 15 031My assistant brewer that day was my friend Trevor, who still hasn’t managed to come drink any since we brewed.

For those of you who are unfamiliar, Belgian blondes are about 6% to 7.5% ABV, light and fruity with maybe little spicy character, a mildly sweet grain front, and a dry finish. There are other style expectations too, but that’s about all I can keep in my head. In my mind a Belgian blonde is kind like a fluffy, fruity, lower ABV, less hoppy version of a SONY DSCtripel. I only have to make that comparison though because I’ve drank a lot more tripels than blondes. If you’ve never had one, Leffe blonde is probably the easiest to find, and is a great example of the style.

So many Belgian beers I have had from breweries and home brewers in the United States are just undrinkable to me. They tend not to have a lot of real Belgian yeast character, and they finish far too sweet. So, my main goals here were to capture at least a decent amount of the fruity, slightly spicy flavor a Belgian blonde should have, and get a nice dry finish.

Recipe:

Grain:

  • 10.33 lbs. Belgian pilsner (The extra .33 lbs. was just because I spilled a bit of grain)
  • 1 lb. German wheat
  • 4 oz. light dry extract (I actually forget why I put this in, I don’t have notes on it…)
  • 1.25 lbs. table sugar (Try to kick up the dry finish)

Hops: (the slightly odd hop weights were because I was finishing off quantities of certain hops I had lying around that I thought appropriate for the style).

  • 0.6 oz. Mt. Hood (First wort hop, boiled 60 minutes)
  • 0.4 oz. Hersbrucker at 60 min.
  • 0.2 oz. Mt. Hood at 7 min.
  • 1 oz. Saaz at 2 min.

Misc:

  • 1 tsp gypsum in the mash
  • 0.25 tsp irish moss at 10 min.
  • 0.25 oz. coriander at 5 min.
  • 1 tsp yeast nutrient at 10
  • Yeast was SafBrew Fermentis T-58 with no starter

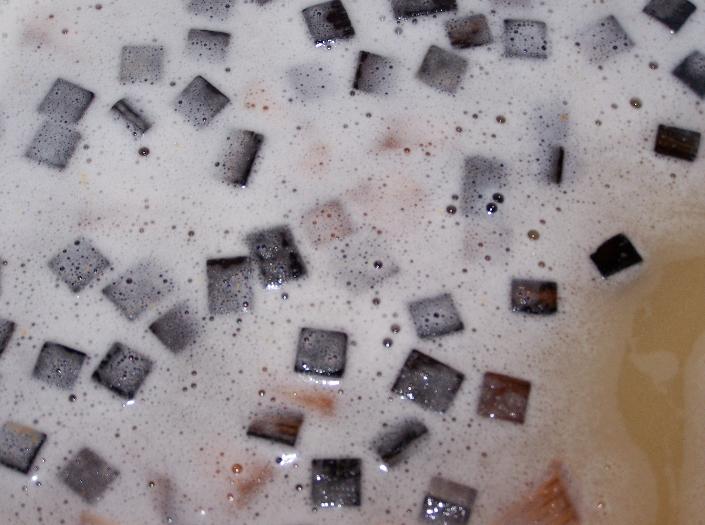
We did a full volume mash with about 8 gallons of water to account for grain absorption and boil-off, using a 70 qt. cooler with a home-made bag.

After the boil we cooled to 65F and added the yeast. After fermentation started (about 12 11 - 23- 15 032hours), I moved it to the basement where ambient was 60F for about 36 hours until high krausen dropped, then moved it to my fermentation closet with a plant mat to try to get it up to 75F until fermentation was completely done (about 6 days). I use a similar temperature profile, with some variation, with most beers I brew, but especially Belgians. The reason why this is important is that by starting out fairly cool during the most intense fermentation, one prevents high concentrations of hot fusel alcohols, as well as other problems like band-aidy flavors. But heating up the fermentation as it starts to cool ensures that your fermentation will finish strong, and you’ll get a nice dry finish to your beer, which as I talked about before, is so critical with Belgian brews.

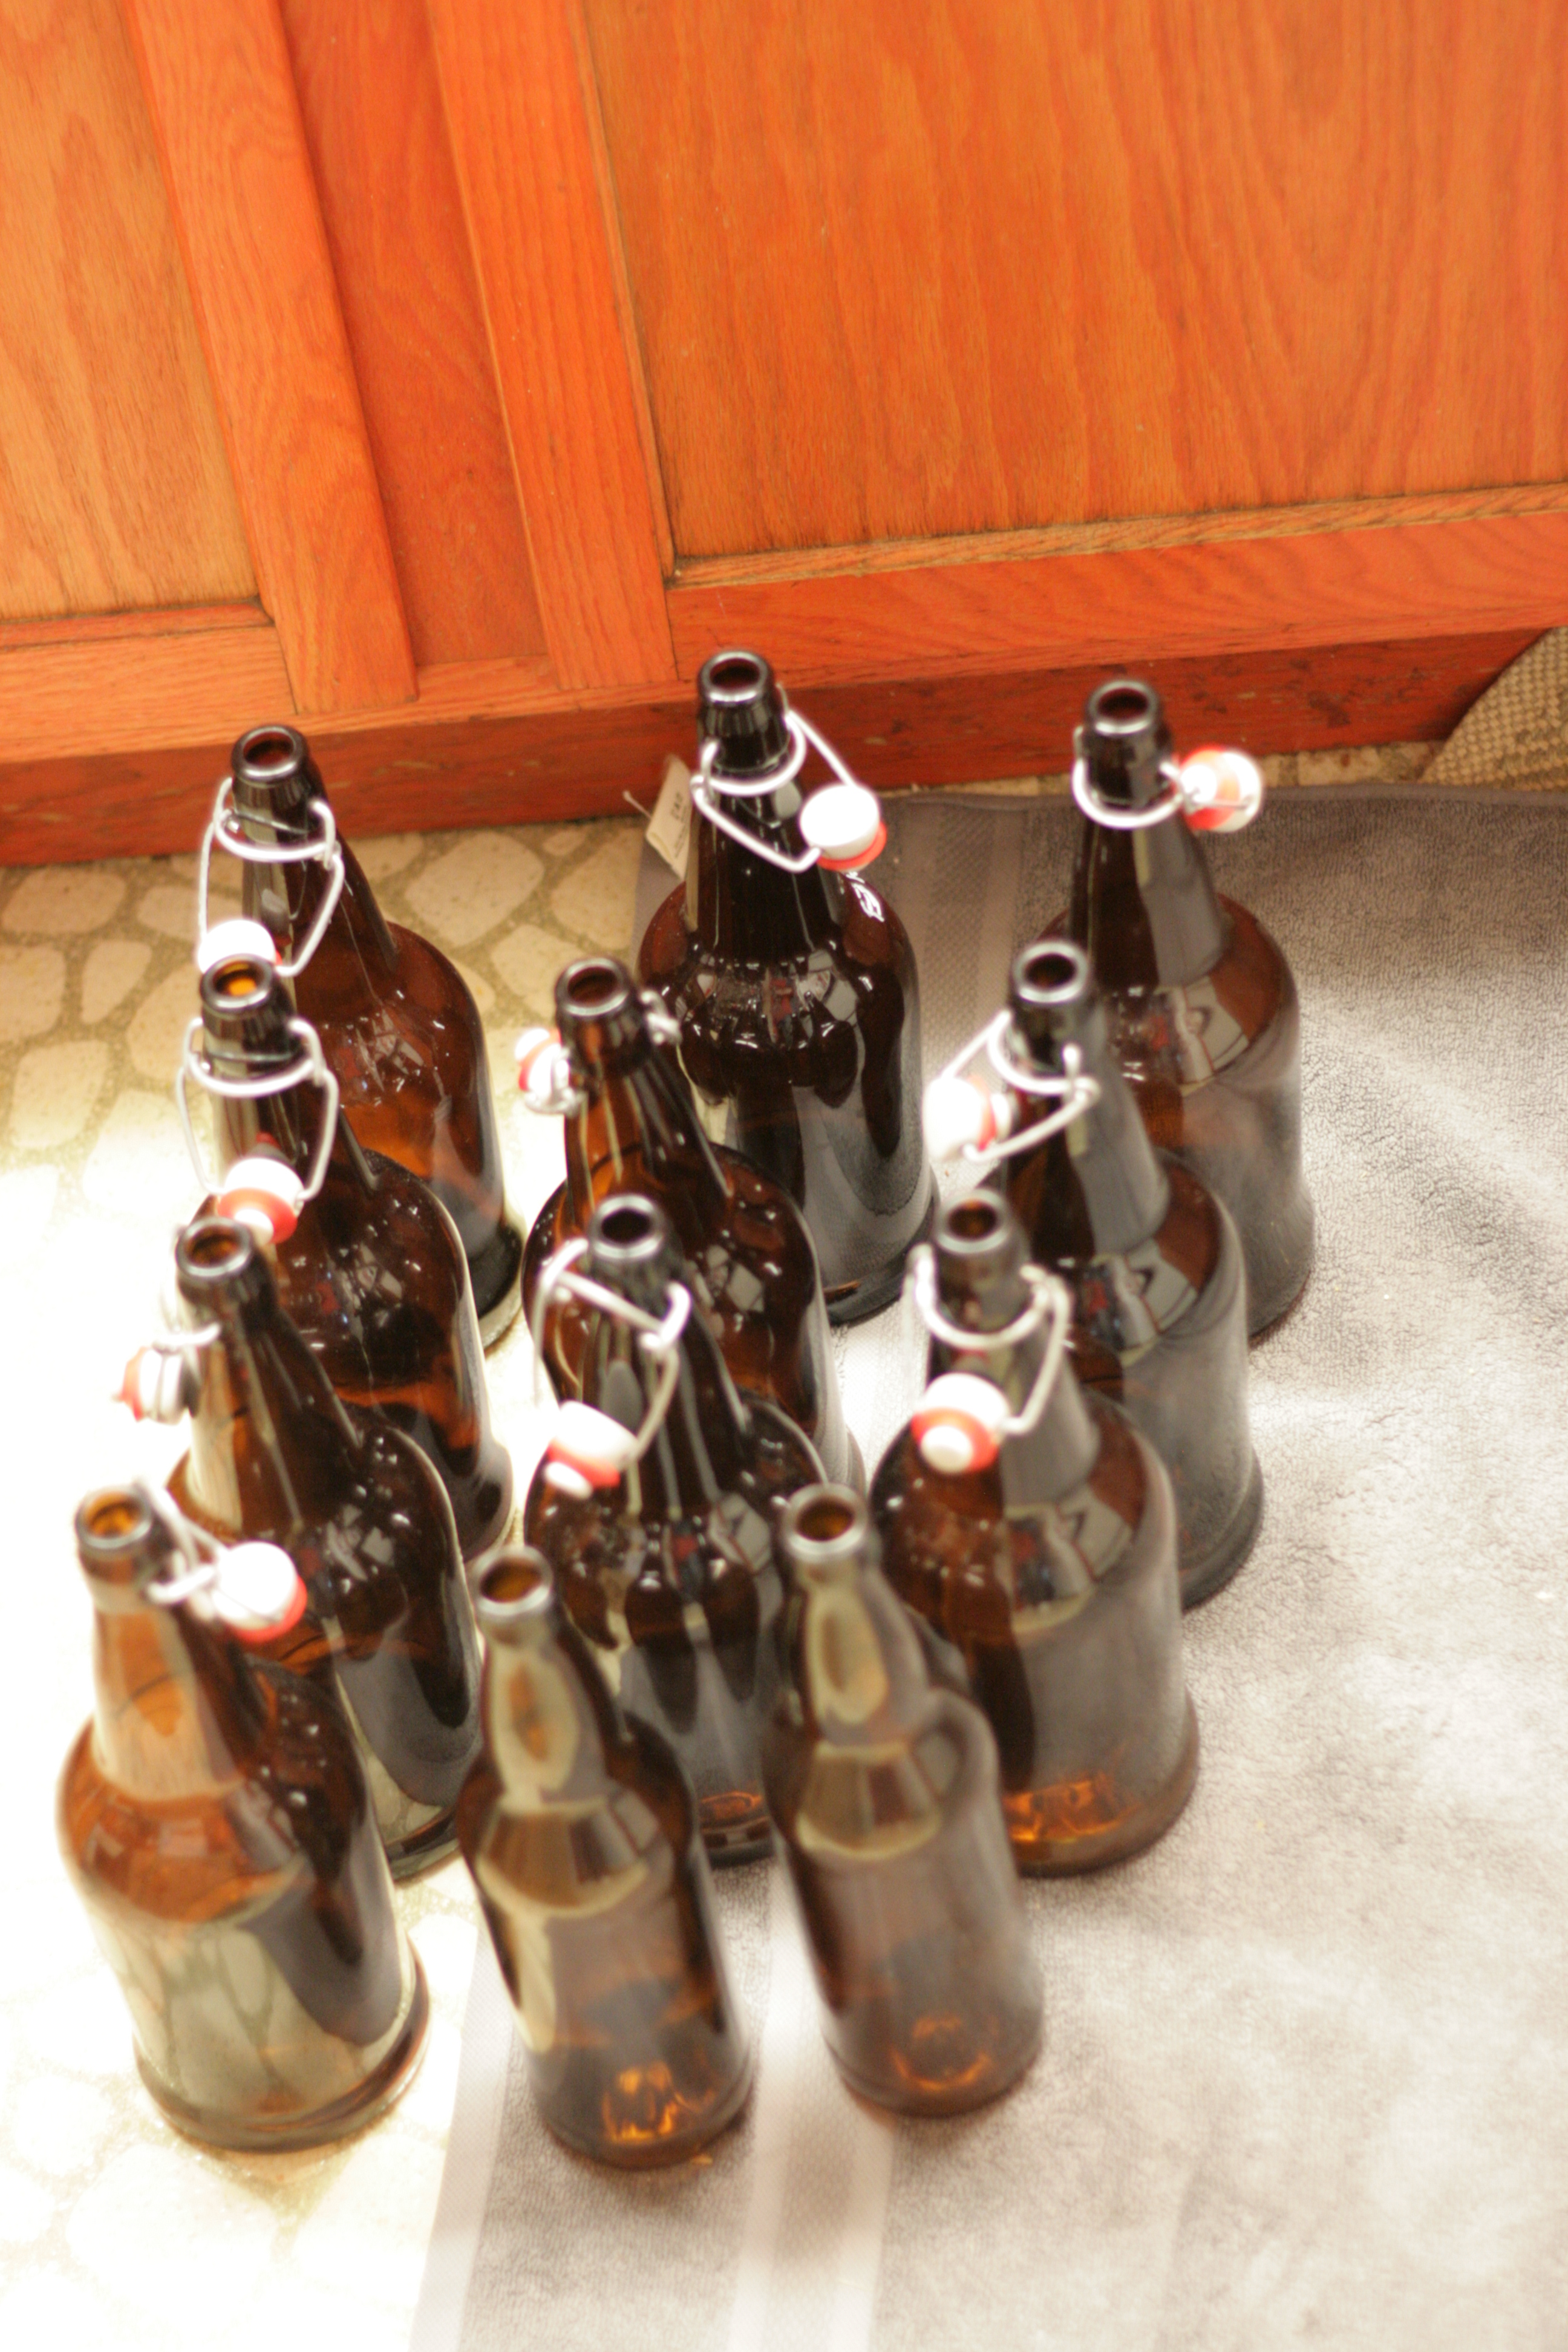
After another seven days, I primed with 4.5 oz. of corn sugar and bottled. This is a little more priming sugar than I’d usually use, but Belgians should have a solid carbonation to them.

The end result: delicious! It ended up being a little too alcoholic (like 9%!!), so it started out a little astringent but over time it mellowed out, and after a couple months is amazing.

Next up: quadruppel!


Advertisement

Classic beer style #1: Kölsch gone crazy

For beer #1 in my post series on homebrewing classic beer styles, I’m brewing a Kölsch, calling it Dog Day Afternoon Kölsch. Most of my homebrews are given names related to dogs, because I like dogs, although I imagine it will be something of a struggle to think of a decent name for every one of the BJCP styles.

Kölsch is a style of pale German ale that looks and tastes more like a German lager – it’s a pale gold color with a little bit of bready German malt flavor.

KONICA MINOLTA DIGITAL CAMERA

I decided to start with a Kölsch because I usually brew pretty strong dark 2751199594_a4aa5de4d0beers, or very hoppy beers, but some of the people I drink with, especially my father and father-in-law, prefer light beers. Technically, a beer can only be called a Kölsch if it’s brewed in Cologne, Germany, but I’m pretty sure this only applies to commercial beers. If I’m wrong then I guess I’m brewing a “Kölsch-style beer”!

I started with a couple really basic recipes found on the reddit homebrewing sub and the homebrewtalk forums, as well as some ideas from Designing Great Beers (Daniels, 2000). Then I made a couple modifications of my own, such as using Mt. Hood and Hersbrucker for hops. I have a few pounds of Mt. Hood in my freezer that I harvested from plants in my backyard this fall, and I just really like Hersbrucker so I occasionally buy them in bulk.

So, here’s the recipe:

Grain: 10.5 lbs. Briess pilsen 2-row, 1.5 lbs. Vienna

Hops: 2 oz. Hersbrucker at 60 min., 1 oz. Mt. Hood at 60, 0.20 oz. Hersbrucker at 2 min. Most of the hops for a Kölsch should be in the bittering, not in the flavor or aroma.

Yeast: Wyeast 2565 Kölsch yeast.

Starting gravity (SG) was 1.048, with 26.8 IBUs.

This is a little more grain than one would normally use for a Kölsch, but I’m just moving into all-grain brewing from partial mashes, and for this beer my new 11 gallon pot had yet to come in, so I had to mash and boil 3 gallons, and then dilute to 5 for the full 5 gallon batch.

010
The 3.5 gal pot I was using – with my purple Thermopen

So, I BIAB mashed using two bags in a cooler at 152 using 3.5 gallons until I hit 1.067, which diluted to 1.048 after the boil.

012

After the boil, I cooled with a basic immersion chiller, diluted to 5 gallons and tossed in the yeast, which I’d built up in a 1.5 L starter from the Wyeast pack for 3 days.

004

I tend to just dump everything from my kettle into my fermenter based on the recommendations from Brülosopher’s Exbeeriments, so you can see the kettle trub and hops at the bottom of the carboy. For some reason though, I got some weird separation between a darker malty layer, and a lighter, yeasty-looking layer. I’m guessing I didn’t mix the diluting water and the boiled wort enough, but I’m not sure. I was pretty worried about this at first, but it seems to have turned out fine.

064


I fermented at 60F for one week in the basement using a makeshift swamp cooler. The fermentation kind of went nuts for some reason – I use Fermcap S when I ferment because I don’t really like having to use blow-of001f tubs, and even when brewing a big Russian imperial stout on a yeast cake froma  previous beer the Fermcap S kept me from needing to use a blow-off. But for some reason with this Kölsch yeast I needed a blow-off for nearly a whole week! So, be warned if you go to use Wyeast 2565 – it works great, but it creates a ton of krauesen, especially given how low gravity this beer was.

After a week in the swamp cooler then raised to 70F (by putting the carboy in the pantry) for a diacetyl rest. After a week at 70F I checked the FG, and finding that it was 1.010, which was my projected goal, moved the whole carboy into my fermentation chamber, and dropped it down to 50 over 4 days. Below you can see the color when I checked the gravity – might be a little darker than I was intending, but I think it’s looking good! It also tasted good, which is always a good sign so soon after a beer is brewed.

Next time I think I’ll try to drop it slower so it doesn’t go down by more than 2 degrees a day as a lot of people have recommended that this keeps the yeast healthier and less likely to go dormant.

It’s now been at 50F for almost a week. In another week or two, I’ll bottle it, and post some pictures of the bottles.

Update 1: I’ll pop pictures of bottling up soon. Up next, Belgian blonde!


Brewing all the BJCP styles

Recently I decided I’d like to brew a classic example all of the Brewing Judge Certification Program (BJCP) classic styles. The BJCP is a certification program for homebrewing judges, and they clarify style guidelines. Examples include beers like altbier, kolsch, American IPA, American wheat beer, and pretty much anything else you can think of.

I decided to do this when listening to the Brewing Network, where Jamil said that brewing award winning versions of all these styles was one of the things that helped his brewing and his understanding of historical styles the most.

The BJCP has a new style guide out for 2015, and since it sounds like most judging is focusing on these guidelines now, I’ll be focusing on this guideline. I’m not going in any particular order, but instead I’ll just brew what I feel like at a given time, checking them off the list. I’ll post about each one as I go.

I decided to start this now because I finally have the ability to do 2 things – lager beer, keeping it at a low temperature for a long time after fermentation, and brew 100% all grain.

The graf I posted about isn’t a classic style, but for my first entry I’ve already started a post on a Kolsch beer, sub-style 5b, in the pale bitter European beer category.

bierkranz_zunft-kc3b6lsch
How Kolsch is traditionally served.

Kolsch is technically an ale (meaning it’s fermented with a top-fermenting strain of Saccharomyces yeast at a higher temperature), but it’s very light and dry with just a little bit of bready malt flavor, more like a traditional German lager.

anchor_brewing_company_fermentation_tank
Top fermenting yeast

I’ll probably follow that up with a winter ale or a British style for the holidays, or something to use up the many pounds of hops I have in the freezer from the harvest.

039
Part of my hop harvest

The Kolsch was very fun to make. It’s lagering right now, and I’ll be posting about it very soon.

Check out the BJCP guidelines here:

Click to access 2015_Guidelines_Beer.pdf

The Great Stout De-Oaking of 2015

I recently tried to oak age a Russian imperial stout that I brewed – Pagan Dog’s Moddey Dhoo, named after the Manx version of the spectral black dogs of the British isles.

Watson’s enormous hound

Oak aging can be done a number of ways – traditionally it’s obviously done in barrels previously used for wine, bourbon, or some other exciting non-beer liquid. The previously occupying liquid would lend some character to the aged beer in addition to that of the wood itself. Oak always adds a unique ‘oaky’ character, partly because of the high concentration of tannins. So, I bought and tossed in some oak cubes, little chopped up pieces of an oak stave or barrel.

What I failed to do first was boil the cubes or soak them in ethanol to leech out some of the tannins. Unfortunately for me this meant that my fancy new stout tasted like I was munching on the end of a board. Yum. Honestly, it’s not really possible to overstate HOW astringent this beer was. I looked around a bunch for a solution, and most brewers I talked to suggested whipping up a second batch and blending it. It occurred to me that people who make wine probably deal with oak more commonly, so I looked around a little more widely for ideas. Lucky for me, I found some suggestions that protein fining agents such as gelatin work great for removing tannins, as they will bind with the larger tannin molecules most responsible for astringency and help precipitate them out of solution.

Don’t use a jello mold for this – you need unflavored gelatin

Most brewers seem to agree that gelatin works better at cold temperatures, so I cold crashed a gallon of beer, mixed 1/4 tsp of gelatin with 1/4 cup of water at 150F, and added it. After leaving it for 3 days, I pulled a sample of the fined beer. I also pulled a sample of the unfined beer to compare them. I didn’t manage any kind of real experiment here, but the difference was really obvious on a taste test. The massive astringency of the original had settled into a tasty, although still strong, oakiness.

009
A six-pack of the resulting batch

And there we go! I’m testing the cold crash alone now, since I thought it might be possible that the cold crash itself could precipitate out a sizeable amount of tannins. I won’t be stepping this up to the level of the awesome exbeeriments, but I’m going to get someone to blind me to the options after the cold crash is over to see if I can tell the difference.

Helpful references:

Click to access EM016.pdf

https://winemakermag.com/715-using-fining-agents-techniques

http://www.bertusbrewery.com/2012/06/how-to-clear-your-beer-with-gelatin.html

Side adventures in brewing – delicious graf

Almost got the first healthcare post ready, but in the meantime I’ve been doing a little brewing, and I thought I’d share some of the results. I’ll continue to try to use book review and brewing posts as filler between more serious posts that take me more time to develop.

I recently bottled a batch of graf, a fictional apple beer or cider-beer blend from the mind of Stephen King, specifically from the Dark Tower series, which is a fun set of books that I started reading as a little kid, but King only recently finished. I really liked this idea, because I like fruit flavors, and love ciders and wines as long as they are dry, but I don’t like the thinness I perceive (because I usually stick to beer).

I brewed this with some store-bought cider (sans preservatives of any kind!), apples, malted grain, my house yeast, and Hersbrucker hops. There are a lot of recipes out there for graf (alot of brewers call it ‘graff’ but I kind of like the spelling from the book so I’m gonna use that. I started with Brandon O.’s recipe, but made a bunch of modifications.

Fermented graf - note the apples chunks floating on top still.
Fermented graf – note the apples chunks floating on top still.

My recipe:

Grain – 3 pounds pale US 2-row, 2 pounds malted wheat, 8 oz. Caramunich, 3 gallons cider

Hops – 1 oz. Hersbrucker (2.8% AA) with 30 min. left in the boil

Yeast – I used my house strain, which started as a Redstar Belle Saison with some US-05. Didn’t make a starter, but had a whole pint jar full of cake from a previous batch.

Mashed high for some body, and boiled the wort for 30 minutes. Did not boil the cider.

Poured the cider in the carboy, chilled and poured the wort. Chopped up some farm apples and tossed ’em in. Shook and then pitched. I always use a little Fermcap S to control foaming, which works amazingly.

Fermented at about 68F without temp control.

Sanitizing big EZ-cap bottles

After about 3 weeks, sat down to bottle – I like to use a mix of bottles. The 1L EZ-cap bottles are great because they really simplify bottling and capping, and make the day significantly shorter. However, unless you are always going to parties it’s a little rough only being able to have 1 L of beer. I also use some 22 oz. bottles…

Some small bottles for competitions.

… and some 12 oz. bottles, but I mainly save these for submission to brewing competitions.

Graf in bottling bucket, where I add sugar and a little casking yeast.

Fermented product had some CO2 built up, and tasted pretty darn good. Very little hop character, mostly cider, with a little maltiness. A nice farmhouse character from my house strain. Exactly what I was going for. Before bottling, I rack to a bucket, add about 4 oz. of priming sugar and a shake of some rehydrated casking yeast. I only add the yeast because I had one or two batches that never carbonated well, so now I use it prophylactically.

Stealing some yeast to keep my house strain going.

I tossed a little of the cake into a jar as I usually do to pitch again for a later batch. Lately I make a lot of ‘farmhouse’ style beers, where I’m just looking for new and interesting flavors, and not necessarily reproducibility from batch to batch. The batch before this was a saison version of Short’s soft parade, a delicious high grav fruit and rye beer from Michigan.

Some finished product
Some finished product – Dirty Dog Billy Bumbler. My homebrewery is Dirty dog, named in honor of my dog, and billy bumblers are from the books.

And here’s some finished product with O2 caps on, which isn’t something I feel very strongly about, but a cheap precautionary measure I use with bottles I save for competitions.